Export Emails from GoDaddy to PST : Step by Step Guide

If you want to export emails from GoDaddy to PST file. So, worry not. In this article, we will show you the easiest and finest solutions to export emails from GoDaddy to PST files by using assured techniques. With these solutions, users may easily export Emails from GoDaddy to Outlook’s all versions. even not only this, users may easily export their contact, calendar, and specific emails.
Remember GoDaddy is a major domain and the web hosting registrar? Also, it offers customers website builders, email marketing, domain hosting, and Workspace webmail accounts. On the site, users may use GoDaddy Workspace email. And also, most customers want to link the GoDaddy account to Outlook for its many capabilities. Outlook has multiple capabilities, one of which is safety.
People require to migrate GoDaddy to pst (Outlook) for many purposes. It’s whether it be for their numerous accounts or safety concerns. If users wish to link the GoDaddy account to Outlook, users may do it manually or technically. Manually moving GoDaddy emails to PST has certain restrictions.
How to Export Emails from GoDaddy to PST(outlook)
- Professional Tool to export GoDaddy emails to PST
- Manual Methods to Migrate GoDaddy to PST (Outlook)
Professional Solution to Export GoDaddy Emails to PST
To convert GoDaddy emails to outlook PST, users can utilize the Syskare Email Backup Tool. This is one of the finest solutions to download GoDaddy emails with attachments through Outlook. This software allows users to export limitless GoDaddy emails to Outlook PST. The software allows users to easily transfer GoDaddy emails to Outlook’s all versions. before start the procedure, let’s have a look at the eye-catching features of the software…
Eye-catching Features of the Software
- There is a fairly straightforward user interface provided by the software system. Users, both technical and non-technical, will find it simple to use this tool.
- Completely Danger-Free: There is absolutely no risk associated with using this tool. Users may simply generate and modify GoDaddy files without losing any of the data included inside them.
- Taking GoDaddy webmail export is not subject to any file size restrictions since the utility does not set any such restrictions. Additionally, users may quickly and simply export data in a matter of minutes.
- It is interoperable with all versions of the Windows operating system and is thus known as “All Windows Supportive.” Aside from that, customers will have no trouble using this software on Windows 10, 8.1, and any previous versions.
- Additionally, this utility may export data from 80+ web-based services such as Amazon WorkMail, AOL, Bluehost, Asia.com, Horde Webmail Aruba, MDaemon Cloud, DreamHost, Email.com, G Suite, Office 365, Gmail, BOL, Axigen, Exchange Server, Host Monster, FastMail, Comcast, IMAP Server, Europe.com, IceWarp Cloud, EarthLink, HostGator, FTP Email Accounts, ISP, Outlook.com, IBM Verse, Rackspace, iCloud, Rediffmail, Hotmail, etc.
Instructions on How to Use the Utility

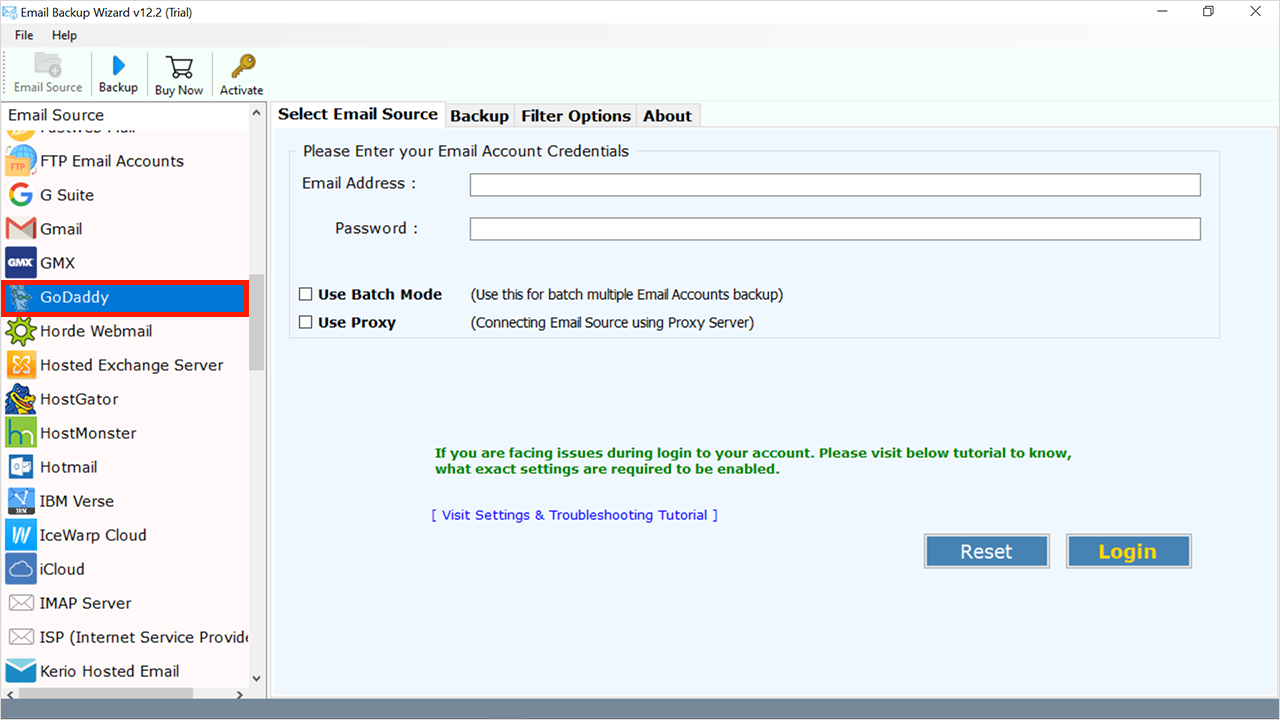
- Download the utility and choose the GoDaddy option from the list(left side).
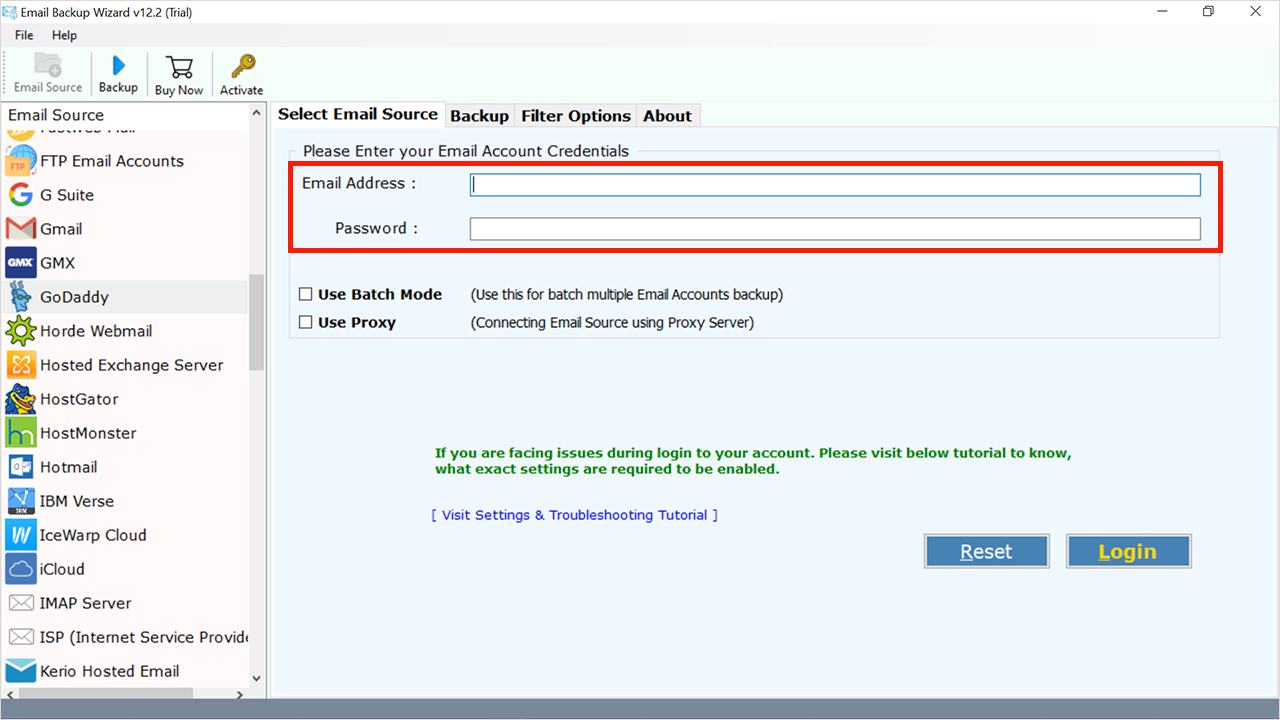
- Enter the login details of your GoDaddy account.
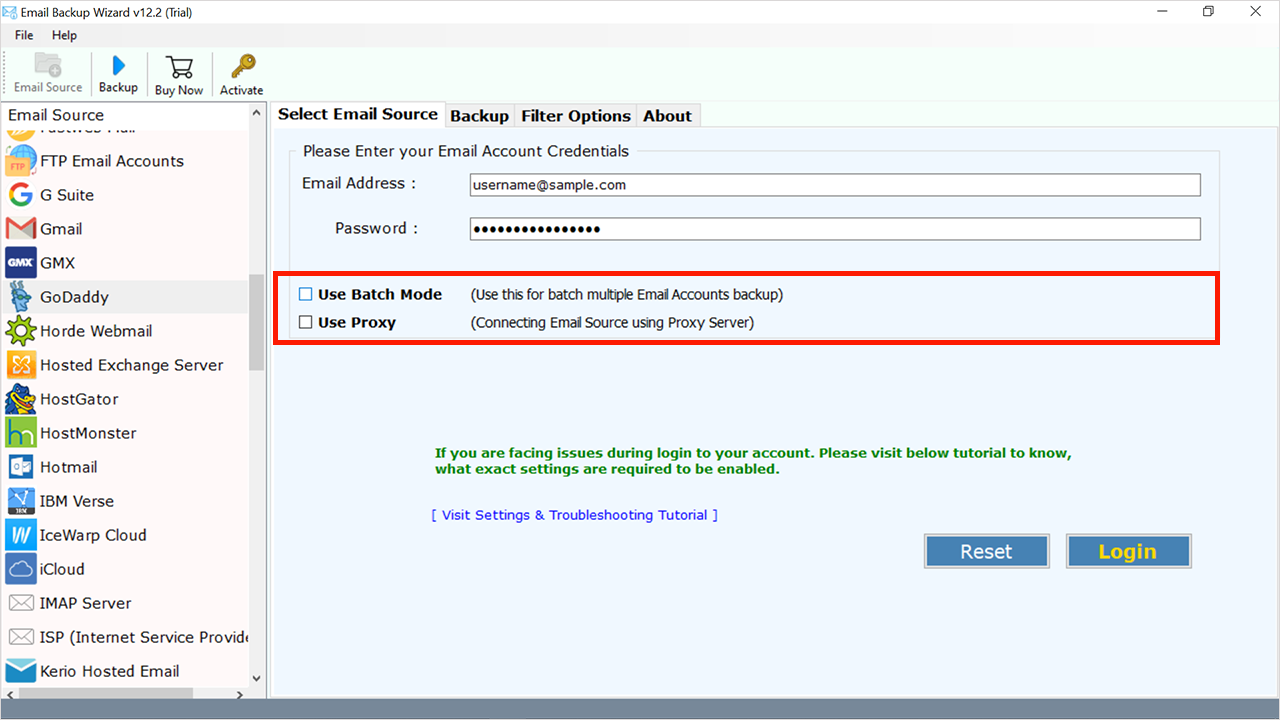
- Now you will see the 2 options.
- Use batch mode: this mode allows you to take backup of multiple email account.
- Use proxy: if you are using a proxy server then click on the use proxy icon and click on the login icon.
- Now choose the specific files which require export.
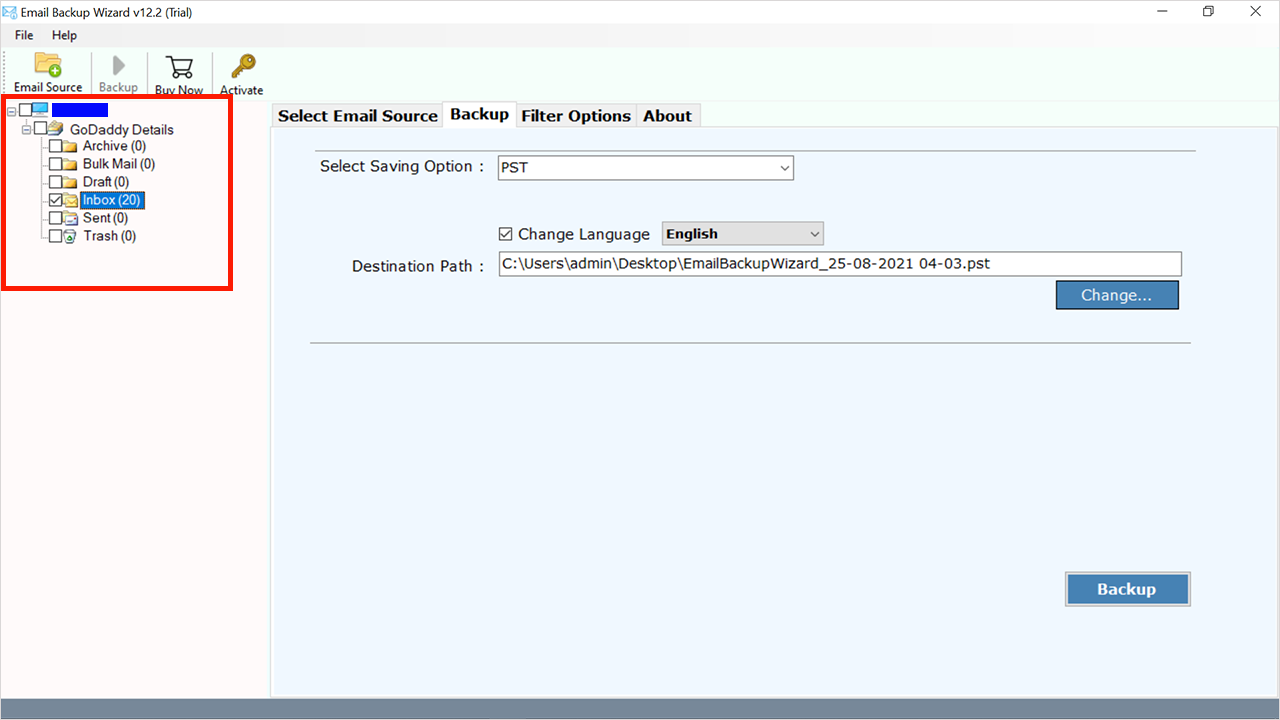
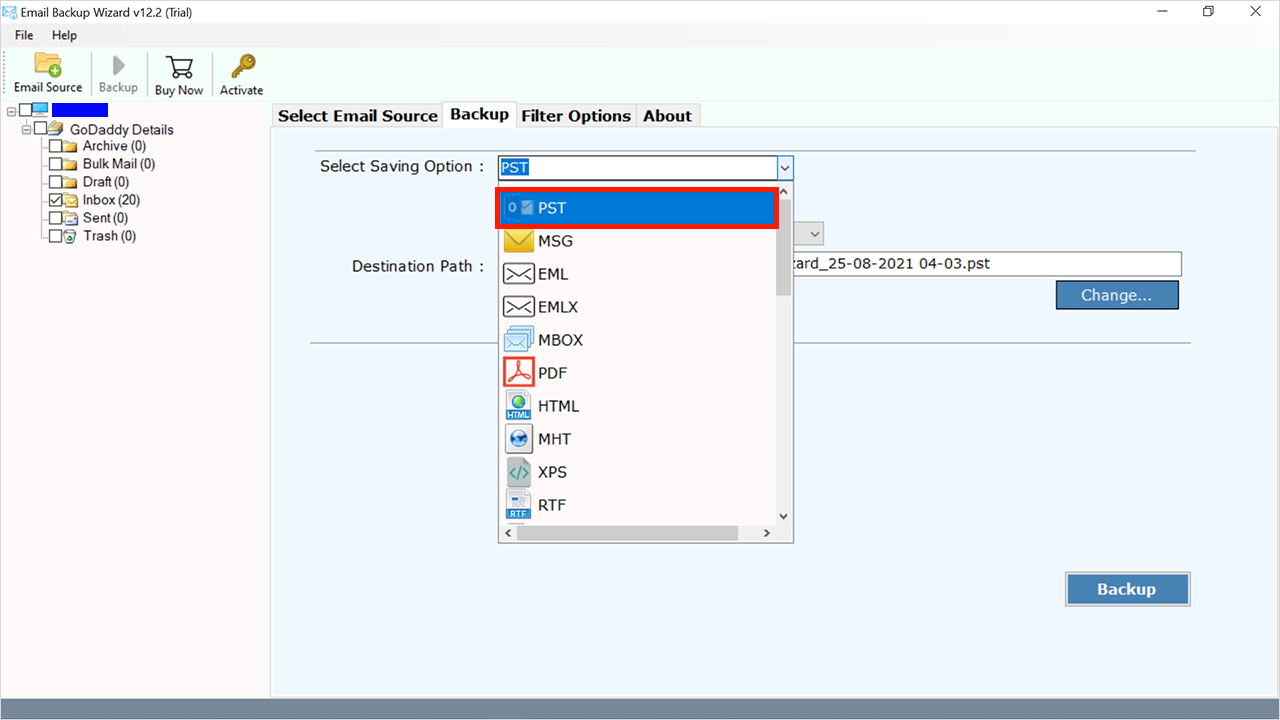
- Click on “Select Saving Option”.
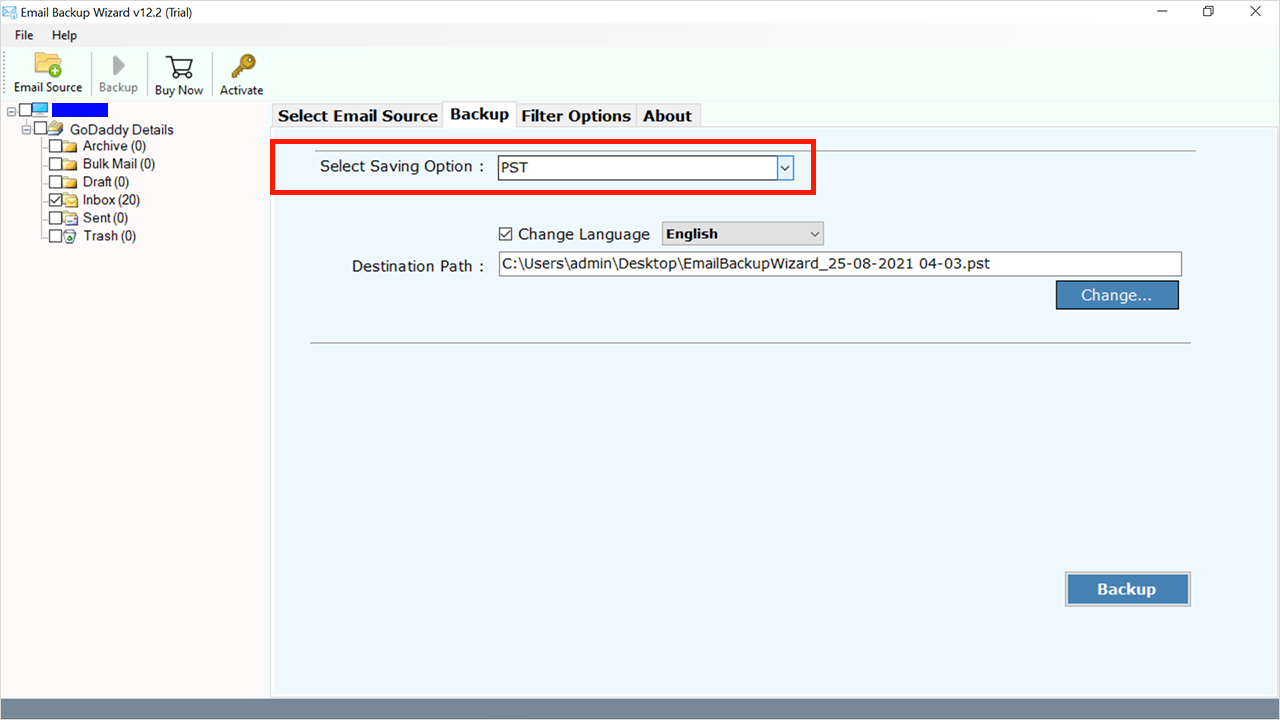
- And choose the PST file format from the drop-down.
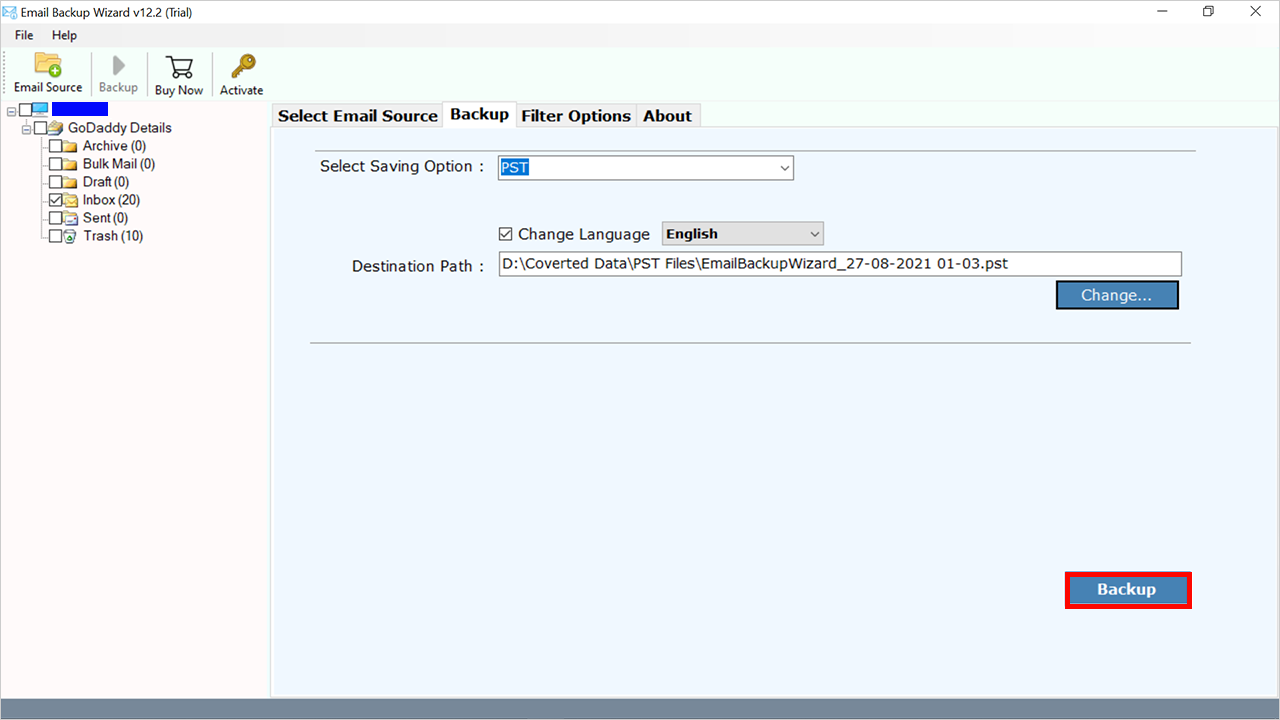
- Now choose the desired location to save the file.

- At last click on the backup icon.
- Now you will get a pop-up on your screen.
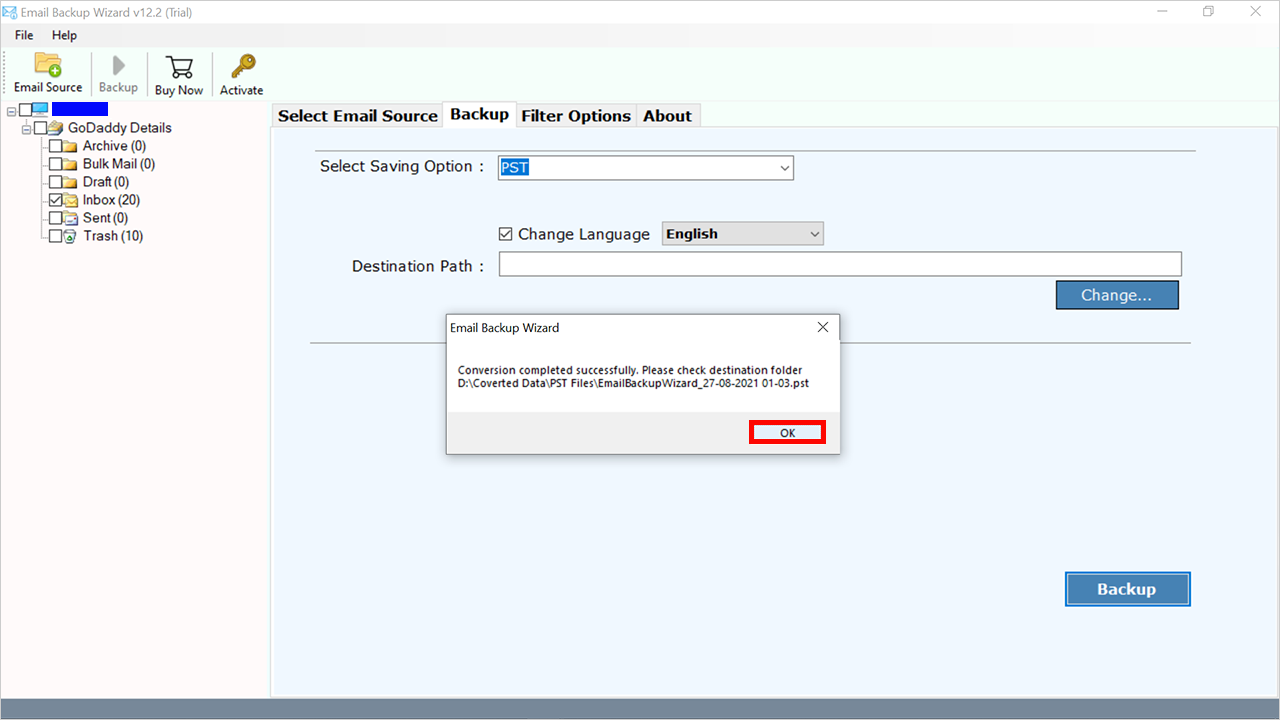
- In the end, the file location will be open automatically.
Manual Methods to Migrate GoDaddy to Outlook
Complete the steps below to add your GoDaddy webmail account to Outlook.
- Open Microsoft Outlook on your device.
- New users: choose Set up Your email account.
- Existing Users: select file option>>add account.
- Now choose an email account and enter your login details such as:
- Name: Sender Name.
- E-mail Address: GoDaddy Email Address.
- Password: GoDaddy Email Account.
- Retype Password: Once Again enter your password.
- Choose the next icon and log in to your GoDaddy account.
- Finally, hit on the Finish button. If you have several email accounts, you’ll require to leave Accounts to see your new email mailbox in Outlook.
It is a straightforward and efficient method of adding and connecting GoDaddy emails to Outlook without any complications. If you encounter any difficulties while utilizing the aforementioned approach, you may want to consider using the professional way. Because the Manual approach has some restrictions and only enables you to connect one GoDaddy Email Account at a time to Outlook, we recommend that you use the Automatic way instead.
Final words
In Conclusion, we’ll go through the easiest way to convert emails from GoDaddy to PST format for use with Microsoft Office Outlook. Everyone may easily and quickly move their GoDaddy mailbox to Outlook, including with any attachments, by using this method. Users will be able to effortlessly import GoDaddy to Outlook 2019, 2016, 2013, 2010, and other versions without any difficulty. Users may also try out the FREE Demo tool to convert emails from your GoDaddy account to PST format.