How to Migrate DreamHost Emails to Office 365?

Today, in this post, I’ll show you the greatest and nicest methods to migrate DreamHost emails to office 365, both manually and with the use of a professional migration service. In this section, I will walk you through the process of migrating your DreamHost emails to Office 365.
Inexpensive web host options are offered from DreamHost. Most WordPress site builders use it since it is reliable and quick. With just an intuitive settings menu and a comprehensive toolkit, it is perfect for simple website hosting needs.
As companies grow, they need extra functionality and flexibility than the simple email provider included with their site web hosting. As a result, numerous companies choose a professional package like Office 365 despite keeping their DreamHost site. if you’re in a similar situation, then we will teach you to migrate DreamHost emails to Office 365.
How to migrate DreamHost emails to office 365?
- Professional solution
- Manual methods to migrate emails from DreamHost to office 365
Professional Solution
Syskare email backup tool is one is the best, unique and finest software to migrate DreamHost emails to office 365. This software allows users to back up all of their emails and save them securely. In addition to extracting emails from 80+ webmail mail sites and cloud-based providers into various documents, email clients, and servers. It maintains the same file format and all email components.
Capabilities of the Software
- When it comes to migrating necessary DreamHost emails to Office 365, the application is second to none.
- Additionally, To transmit just necessary emails, the tool gives Date Range, Extract by Similar Email Address, Similar Subject filters.
- This tool supports all types of operating systems.
- The software can preserve all DreamHost email formats. Moreover, it keeps all files and subfolders intact.
- The software is simple to use and migrate DreamHost emails to Office 365 in seconds.
How to Use the Tool

- Firstly, download or launch the utility.
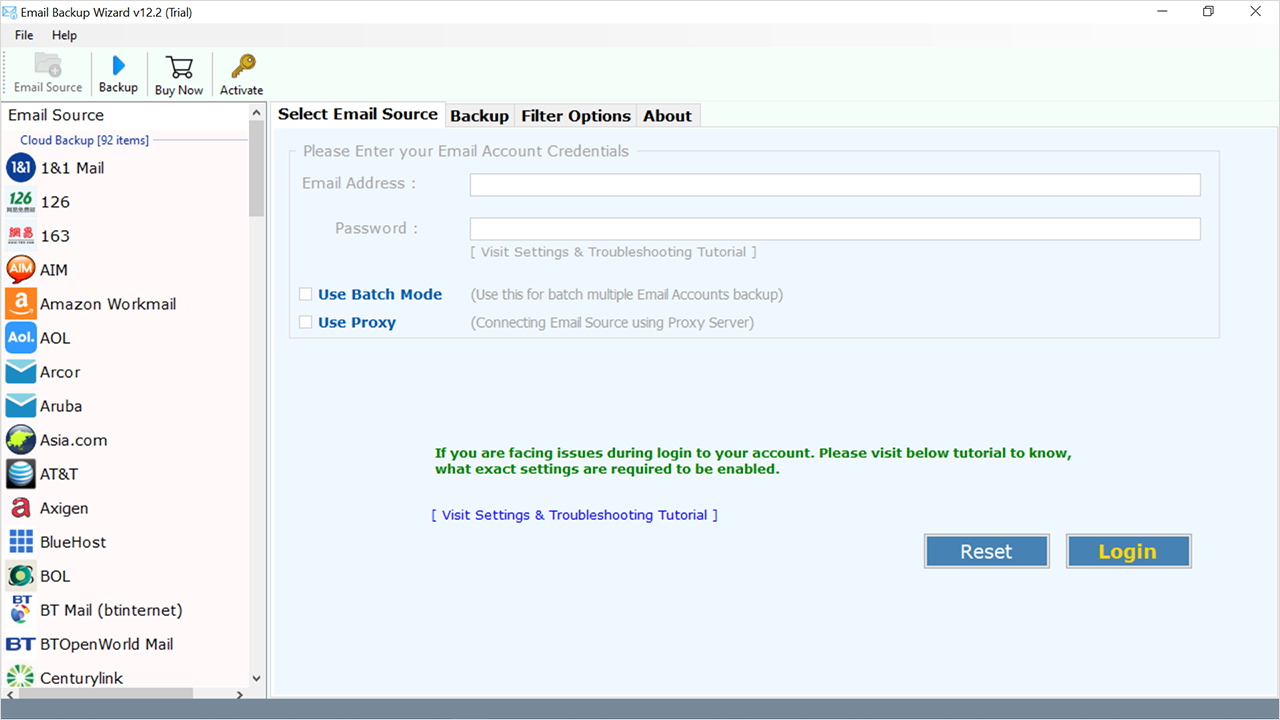
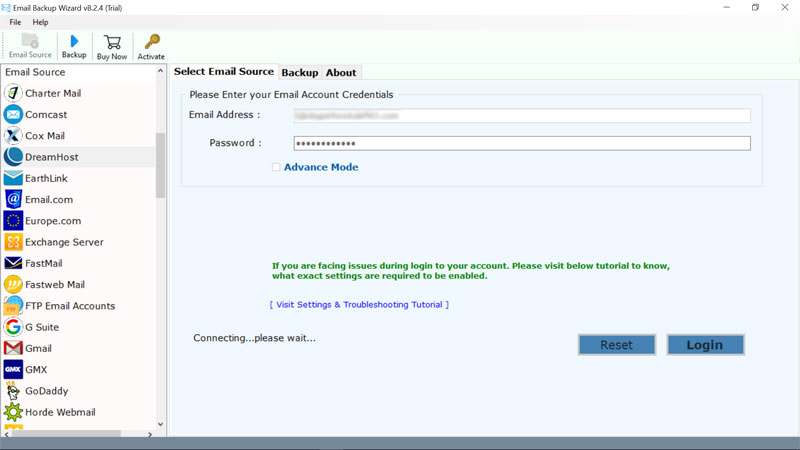
- Now select DreamHost from the drop-down (left side) and enter the login details of the DreamHost account and click on the login icon.
- Now choose the required folders or files which need to migrate.
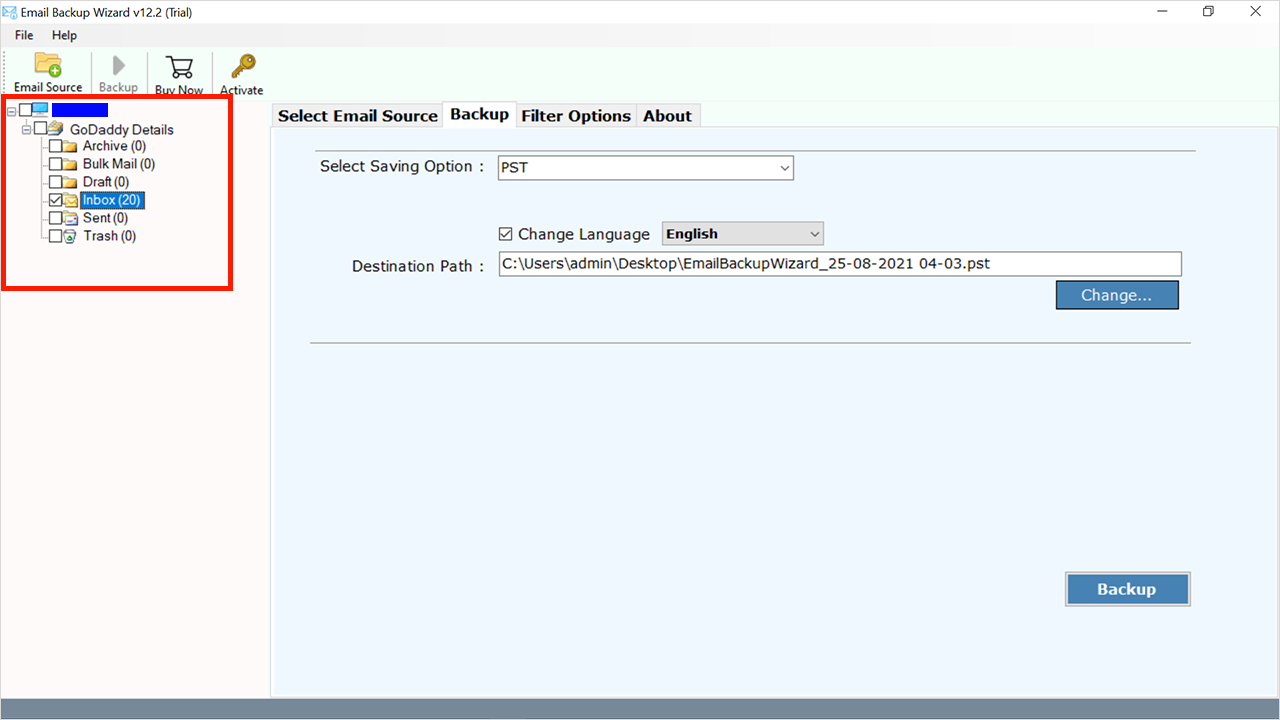
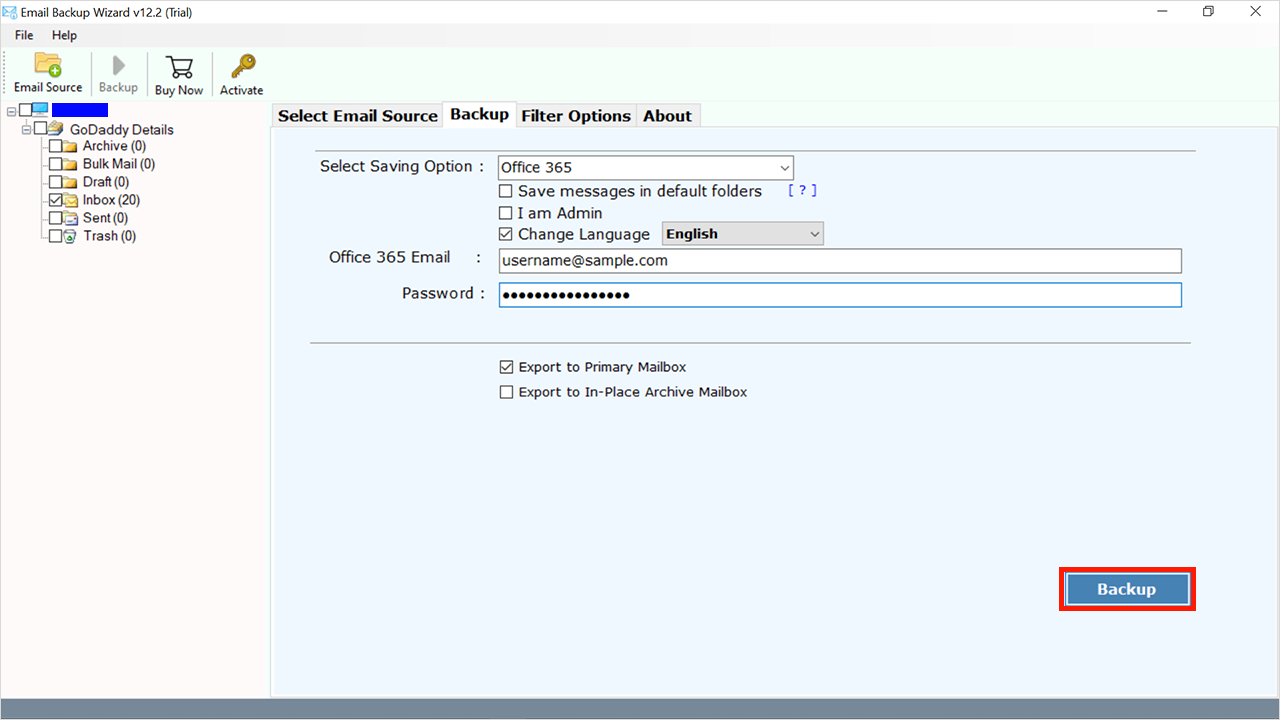
- Click on “Select Saving Option”.
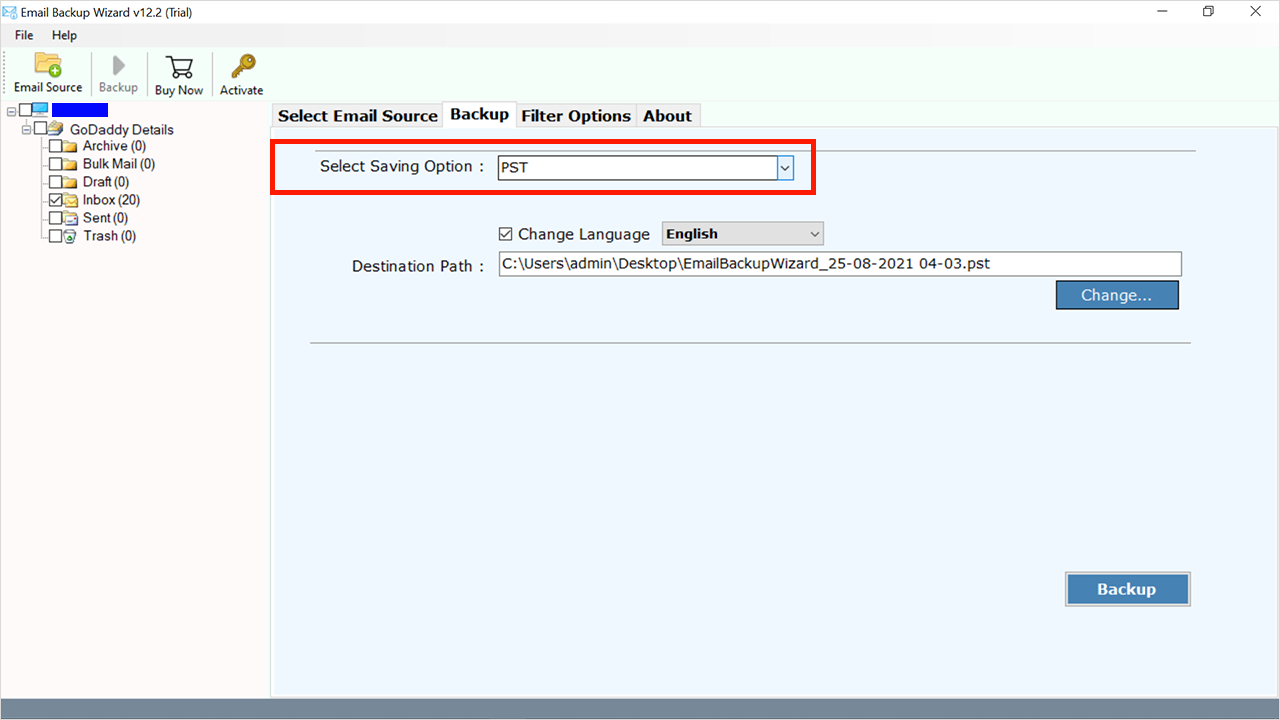
- Now choose Office 365 from the drop-down as a saving type.
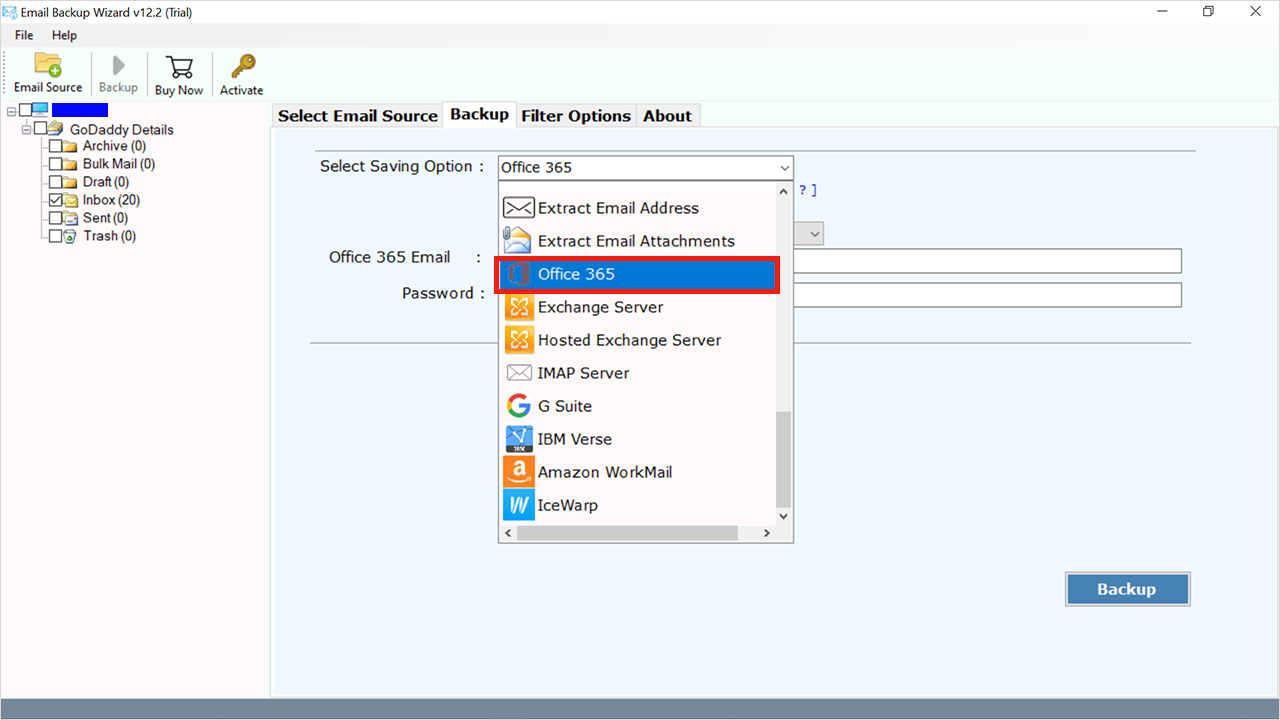
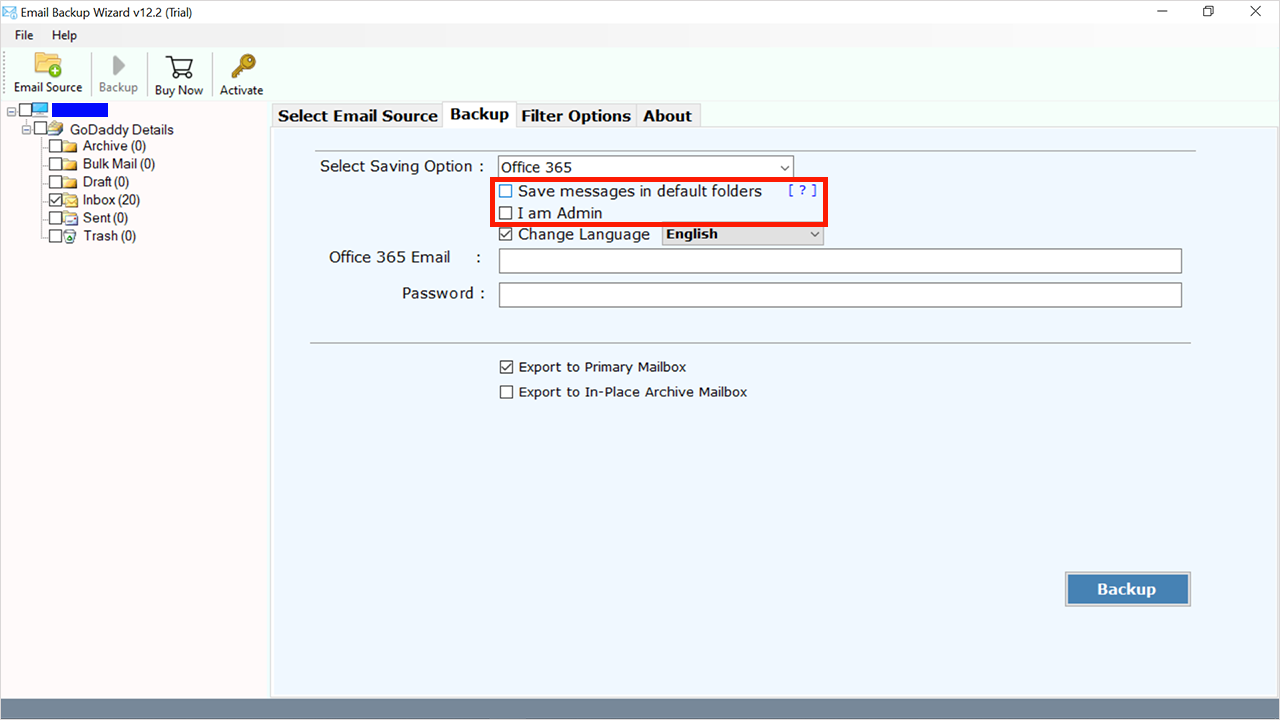
- There is a two option available
- Save Message in Default Folder: users may migrate emails in specific folders.
- I am Admin: by using this feature users may easily migrate data from multiple accounts at one time.
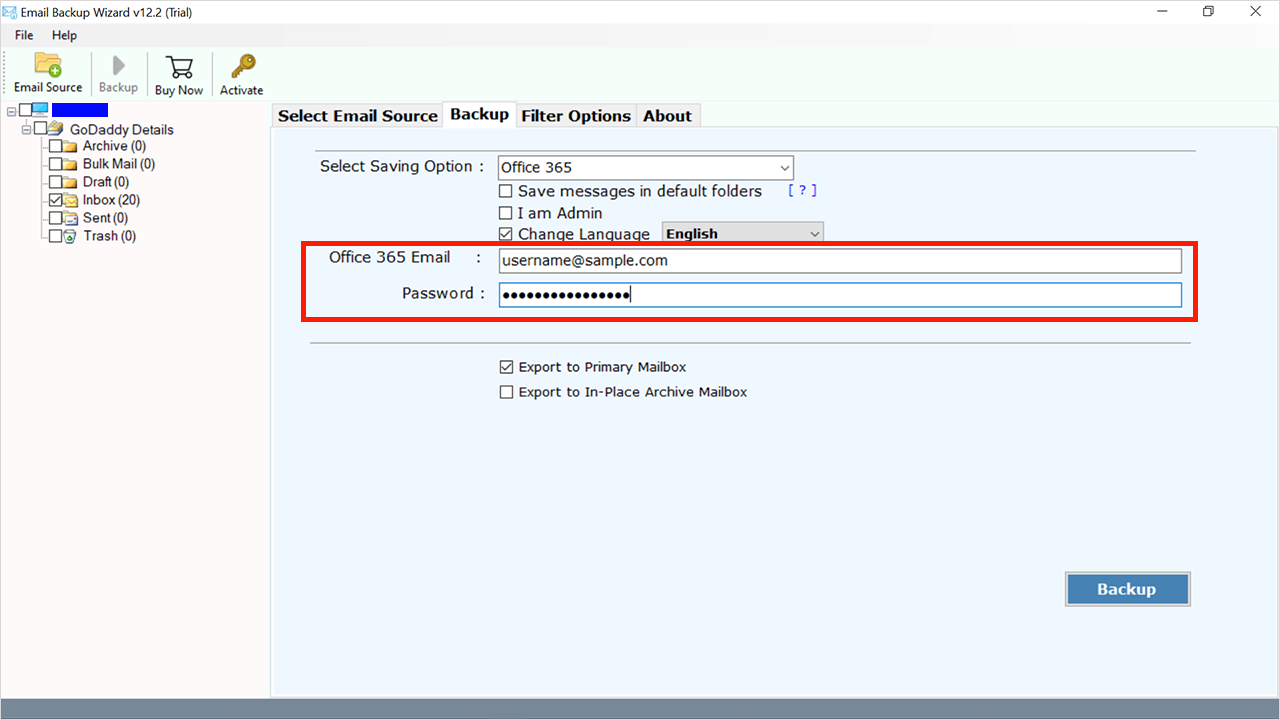
- Next fill in the login details of MS office 365 accounts.
- Choose the option between “Export to Primary Mailbox” and “Export to In-Place Archive Mailbox”.
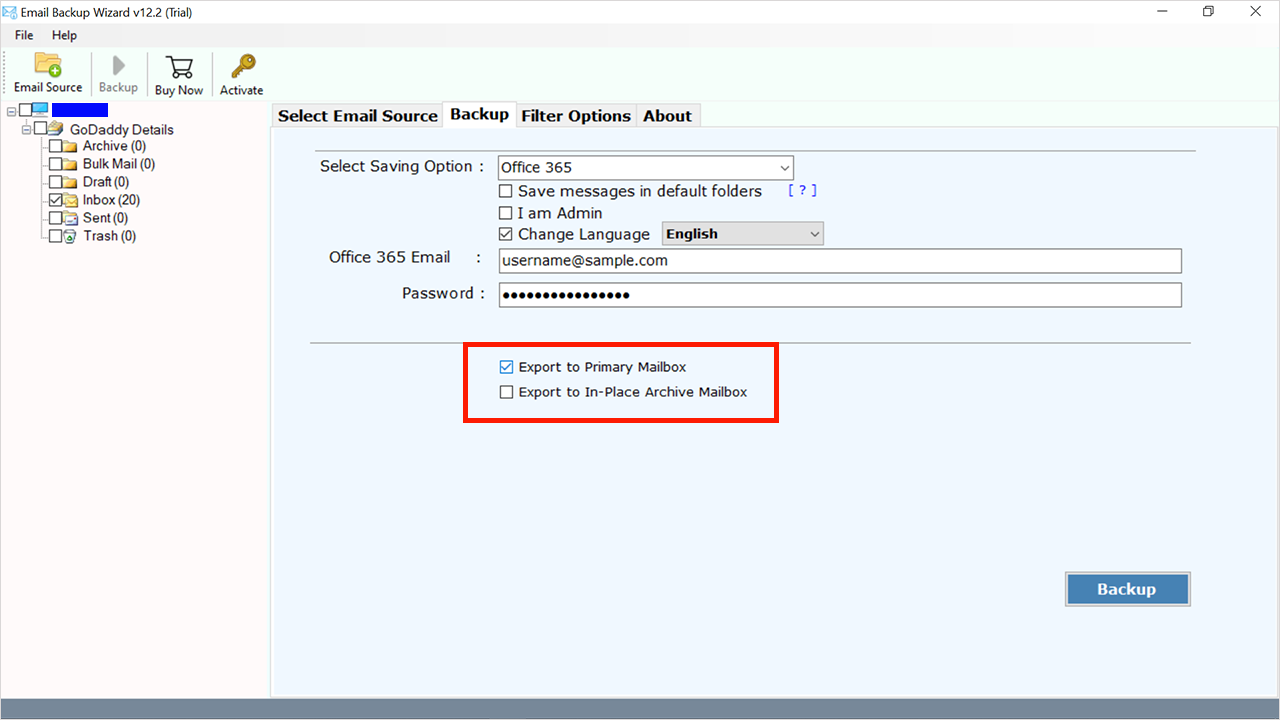
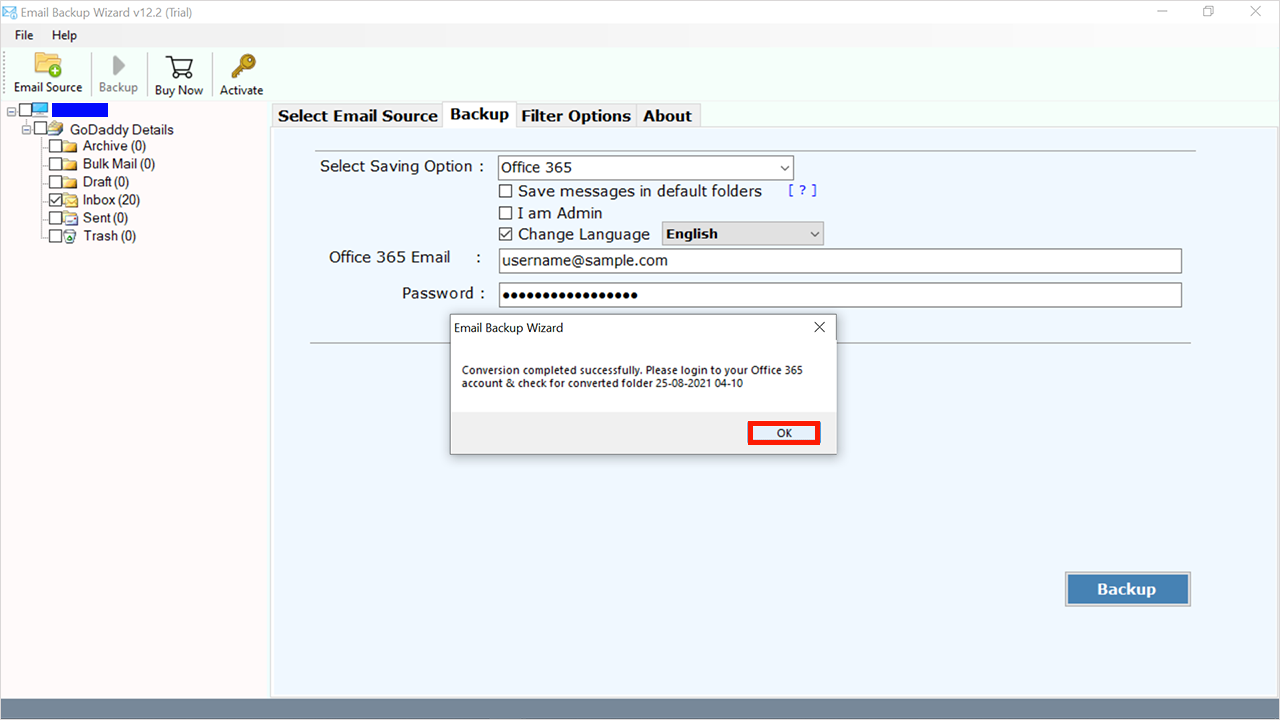
- At last press on the “Backup” button.
- After the successful conversion, you will get a pop-up.
Manual Methods to Migrate Emails from DreamHost to Office 365
Users may utilize Office 365 solutions with their current domain which is still managed with DreamHost by changing the DNS records in DreamHost. Utilize your DreamHost managed domain with office 365 by following the steps below:
DNS Upgrade for Microsoft Service
- Open DreamHost and sign in with your login details to migrate DreamHost emails.
- Choose Dashboard >>Domains then manage domains.
- From the Domain area, choose the DNS option.
- Modify the domain’s customized DNS.
- Waiting for the DNS update to propagate.
Email Reroutes to Office 365
If users want to forward emails to recently established Office 365 accounts, simply need to wait until the DNS update was already completed.
- From the Main screen, choose Mail>Custom MX to migrate DreamHost emails.
- In the Configure Mail Delivery area, choose Modify from the Tasks box.
- Modify the MX Records with the Ms mail providers’ settings and remove any original beliefs.
To finish the procedure, modify the CNAME, SPF, and SRV entries. Following the transfer, users will receive additional emails delivered to DreamHost domain accounts in their freshly established Office 365 emails. Transfer data from current DreamHost mail to Office 365 through IMAP or handover transfer.
Limitations of Manual Methods
- Manual methods take a long time and are a time-consuming procedure.
- Use manual techniques with caution, since a single incorrect step can result in the loss of your data.
- Difficult to use for non-technical people.
FAQ’s
Yes, the email backup utility may be installed on the Windows 10 operating system.
Yes, this tool allows you to migrate multiple data at one time without any hassle.
Conclusion
in conclusion, we’ll show you how to migrate emails from DreamHost to Office 365 manually and professionally. As stated before, manual techniques have certain drawbacks. So don’t bother with manual methods. There is a dependable tool, the tool produces the right output with no data loss throughout the processing process. Any professional or non-technical user may move email from DreamHost to Office 365 safely and securely by completing the step-by-step instructions in this blog.